
Detailed illustrated guide
How to Measure for Custom Curtains
Measure the hardware the curtain will hang from—not only the glass. Read the complete guide once, then measure each window twice and keep the record.
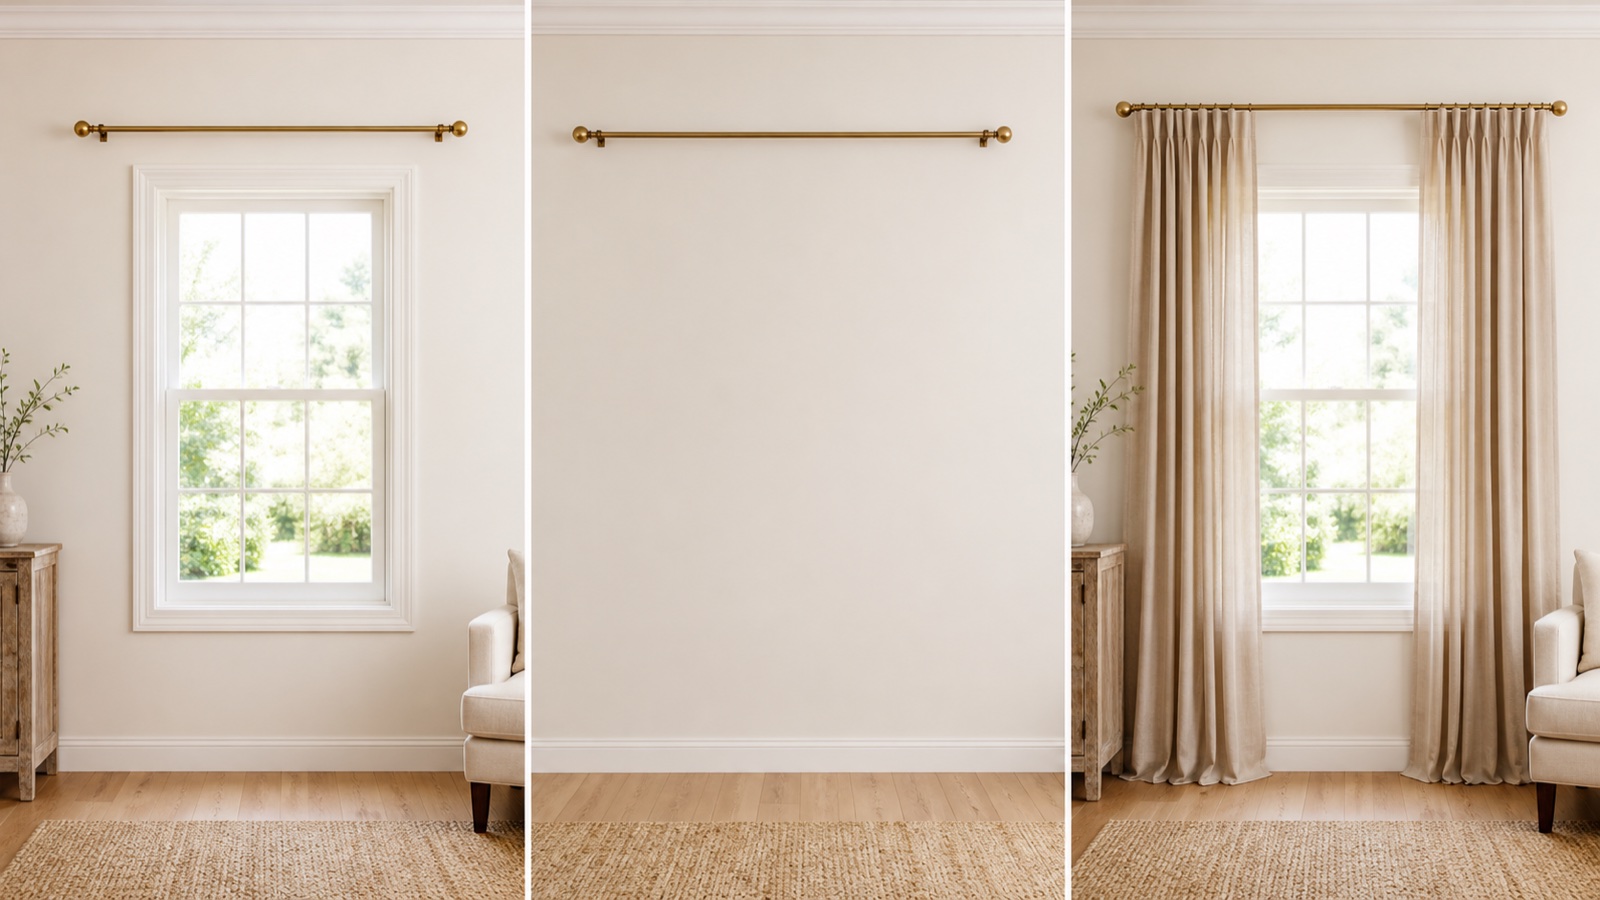
Real installation sequence: plan the hardware, measure its usable span, then confirm the finished curtain result.
Before you start
Use a metal tape
Cloth tapes can stretch and soft tapes can sag.
Measure every window
Similar-looking windows can differ.
Write width first
Record as W × L and include the unit.
Do not deduct twice
Enter the complete coverage width unless the product says otherwise.

Plan the rod or track position
Choose the hardware position before ordering. A common starting range is 6–10 inches above the frame, or close to the ceiling when proportions allow. Extend the hardware 6–15 inches beyond each side to create stack-back space and reveal more glass when open.
- Check studs, brackets, trim, vents and adjacent walls.
- Allow more side space for thick fabric, lining or wide openings.
- For a ceiling track, confirm the ceiling is level and suitable for fixing.

Allow for stack-back
Stack-back is the width occupied by the open curtain. It depends on fabric thickness, lining, header, fullness and total curtain width. Use the wall extension as usable parking space; do not promise that every fold will clear the glass.
Check handles, radiators, doors and furniture. A center-opening pair needs stack space on both sides; a single panel needs one larger clear side.

Confirm header and hardware
The header determines both compatibility and the vertical starting point.
- Grommet / rod pocket: decorative rod only; measure from the rod top.
- Pencil / pinch pleat: rod with rings or compatible track; measure from the ring bottom or hook position.
- Ripple fold: compatible ripple-fold track; use the track/product reference point.

Measure complete coverage width
Installed rod: measure the straight usable length between the finials. Do not include decorative end pieces.
Installed track: measure the usable track from end stop to end stop; include any center overlap that is part of the system.
Planned hardware: use the planned bracket-to-bracket or track coverage width. Do not order from glass width alone.

Measure at left, center and right
From the correct header start point, measure to the floor at three positions. Floors and hardware are not always level. For a float or kiss finish, use the shortest reliable measurement unless a professional has planned individual lengths.
- Keep the tape vertical.
- Do not follow the wall or baseboard.
- Repeat the measurement and record the unit.
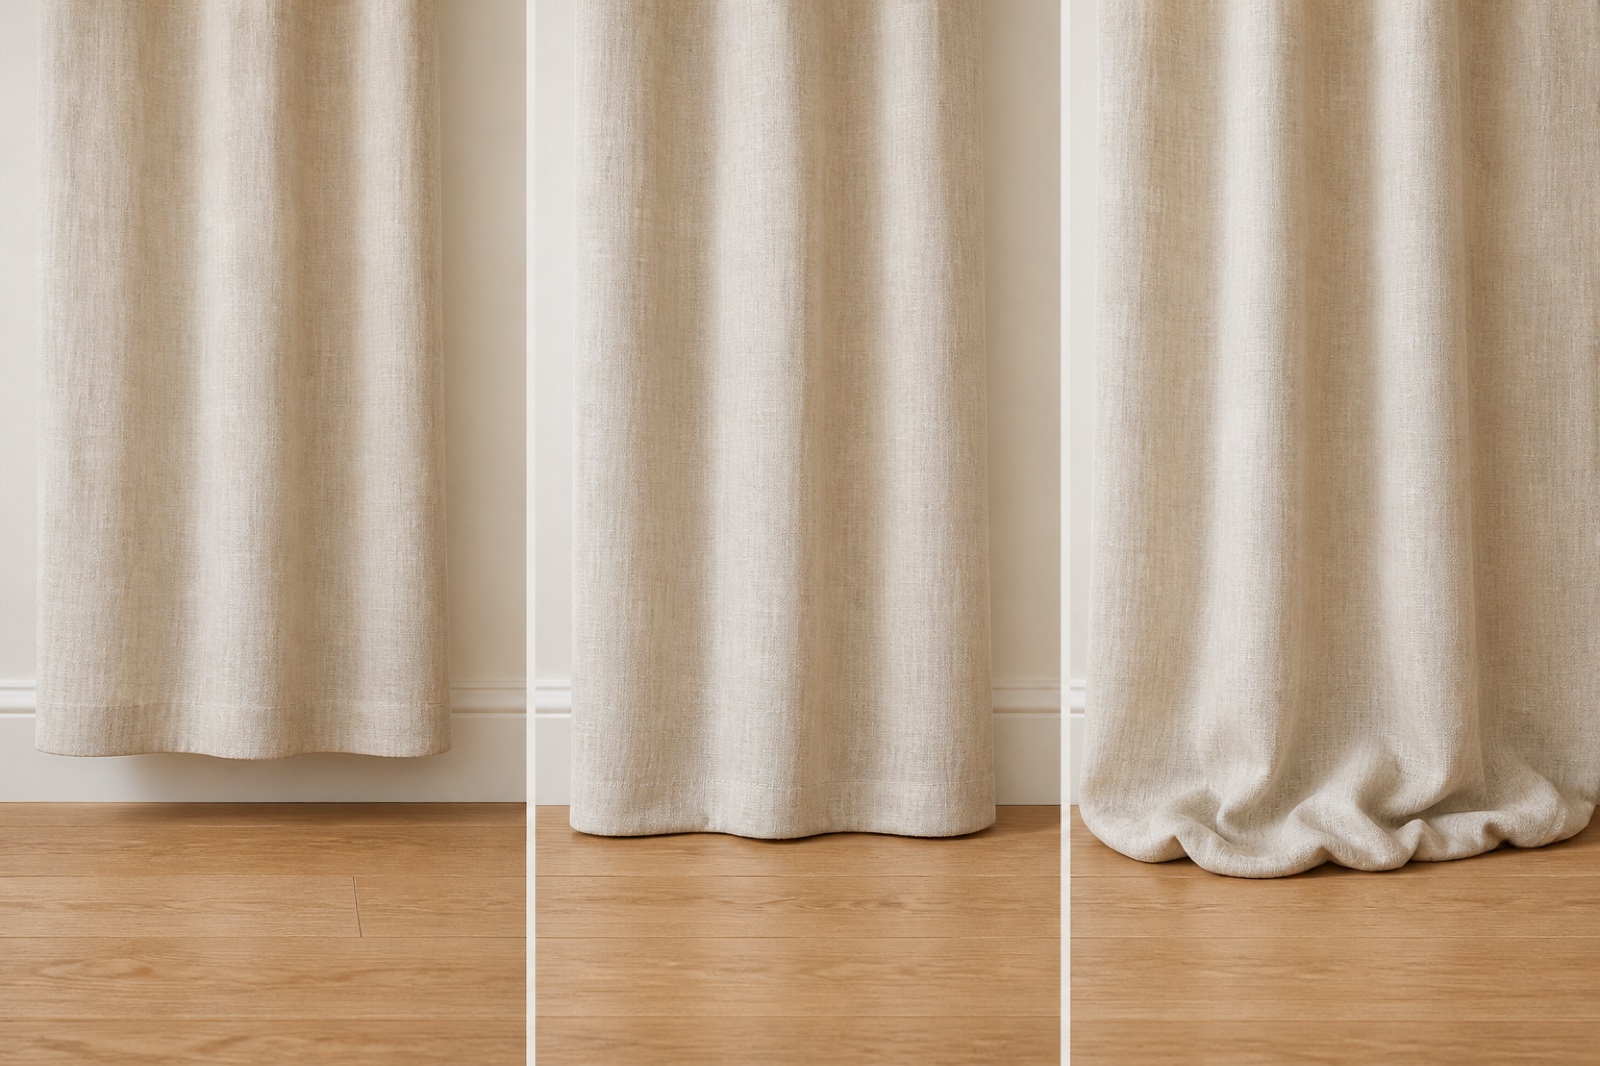
Choose the floor relationship
Float 1/2 inch abovePractical for daily use and uneven floors.
Kiss the floorPrecise tailored result; measurement must be exact.
2-inch puddleSoft decorative finish; needs more care and floor clearance.
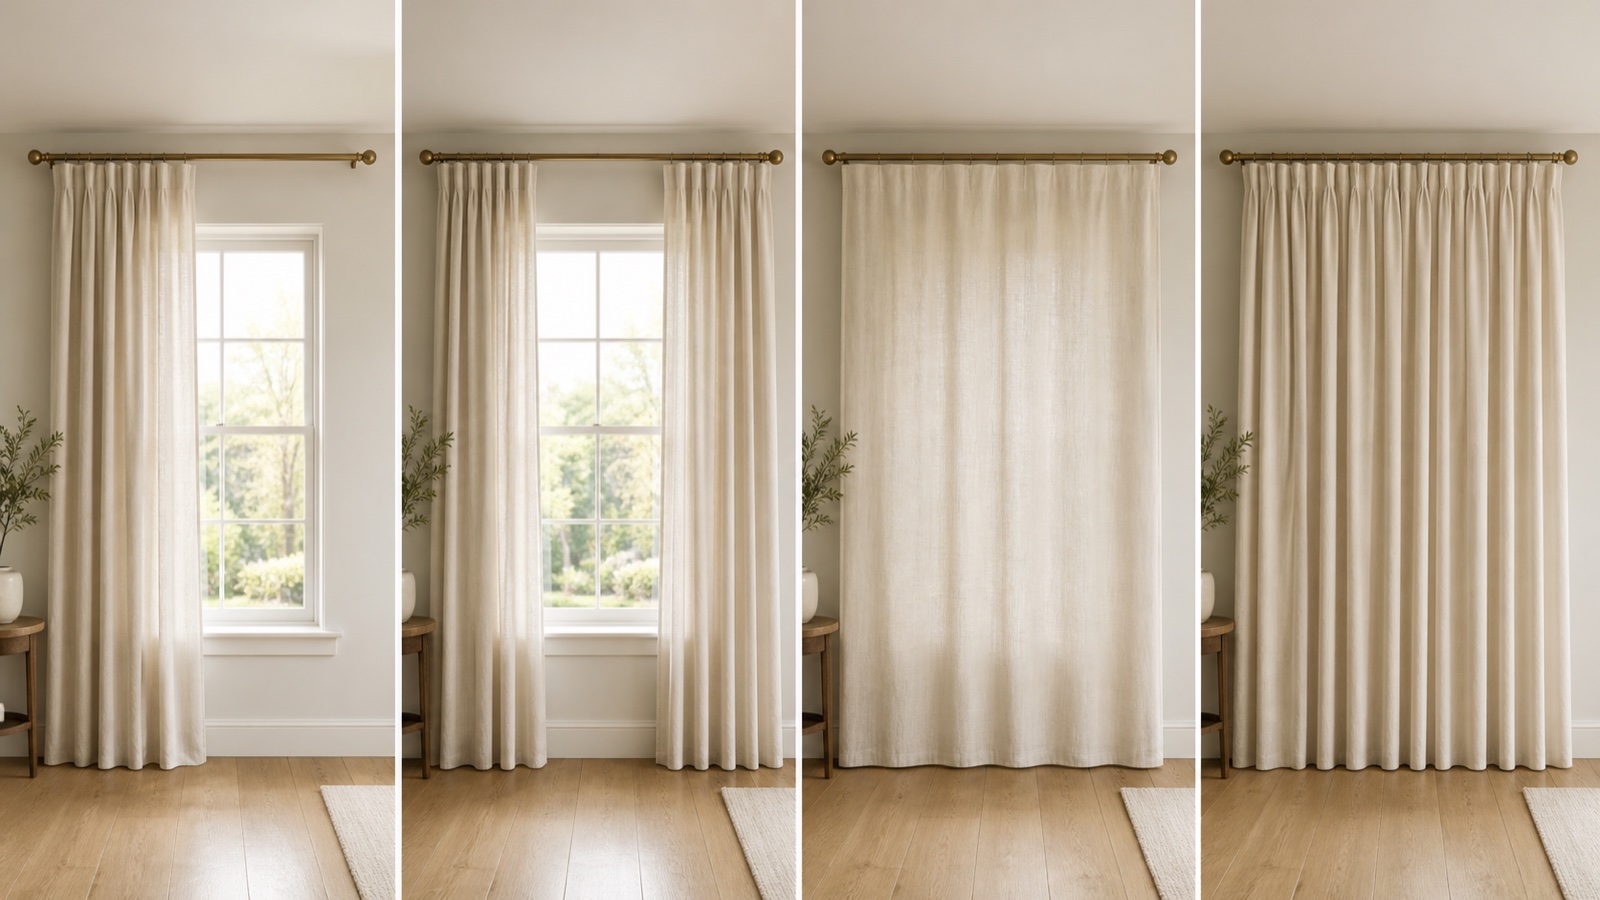
Use the correct width rule
Flat/gathered headers: total fabric width ≈ coverage width × chosen fullness, then divide by panel quantity.
Made pleats: order finished panel width to cover the rod/track; construction fullness is built into the sewn pleats.
Ripple fold: order finished coverage width for the compatible track; system fullness is built into the fold spacing.

Review before ordering
- Window/room name and units
- Header and compatible hardware
- Complete usable width
- Left, center and right drop
- Floor finish and finished drop
- Single or split panels
- Fullness/pleat construction and lining